Every collector reaches the same frustrating moment: you own a beautiful sword, but it belongs to no one. It could hang on anyone's wall. Learning how to personalize swords changes that completely. A custom engraving, a hand-wrapped handle, or a name etched into Damascus steel transforms a blade into something that carries meaning. Whether you want a display piece with your family crest, a cosplay weapon built to match a character's lore, or a truly unique sword gift for someone who deserves more than a gift card, this guide walks you through every step.
Table of Contents
- Gathering your tools and materials for sword personalization
- Preparing your artwork and positioning designs correctly
- Executing the personalization process: engraving, etching, and adding custom details
- Verifying your personalized sword and common mistakes to avoid
- Displaying, gifting, and using your personalized sword with style
- Why traditional and modern personalization approaches both matter to collectors
- Find expertly personalized swords and custom engraving services
- Frequently asked questions
Key Takeaways
| Point | Details |
|---|---|
| Use vector artwork | High-resolution vector files ensure sharp and scalable sword engravings. |
| Position designs thoughtfully | Place personalized elements considering sword type and traditional orientations. |
| Prepare tools correctly | Secure swords and calibrate engraving tools for precise, permanent results. |
| Balance function and style | Finalize hilts before blade work to maintain sword balance and usability. |
| Professional work adds value | Expert handmade personalized swords offer quality and meaningful customization. |
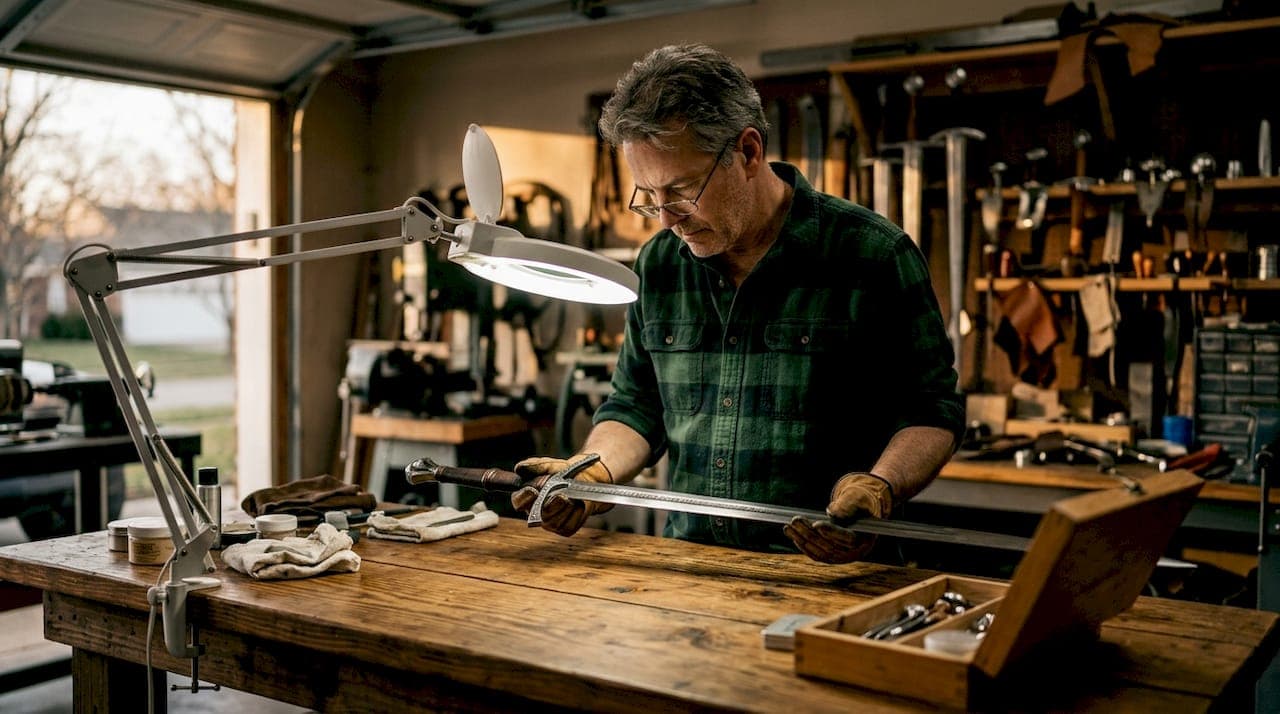
Gathering your tools and materials for sword personalization
Before you touch a blade, you need the right setup. Sword personalization is not like stamping a name on a keychain. The materials, tools, and preparation work all affect the final result in ways that are difficult or impossible to fix afterward.
Here is what you will need before starting any sword customization project:
- Fiber laser engraver (or access to a vendor who uses one): fiber lasers etch permanently on metals like stainless and carbon steel with high detail, and they redraw customer artwork into vector files for optimal scaling.
- Vector artwork software: Adobe Illustrator, Inkscape, or any program that outputs SVG or AI files. Raster images like JPGs fall apart at the magnification needed for blade work.
- Metal-compatible inks or marking compounds: These are used for certain etching methods outside of laser work.
- Leather and thread: For scabbard and handle customization.
- Protective gear: Cut-resistant gloves, eye protection, and a non-slip work surface.
The blade itself matters as much as the tools. Not every sword accepts engraving equally. High-carbon steel and stainless steel take laser work cleanly. Softer decorative alloys may produce blurry results. To understand how different sword engraving types respond to different metals, it helps to research your specific blade before committing to a design.
| Blade material | Laser engraving result | Best for |
|---|---|---|
| High-carbon steel | Clean, deep contrast | Historical replicas, functional swords |
| Stainless steel | Sharp, bright lines | Display pieces, cosplay swords |
| Damascus steel | Dramatic, follows pattern | Collectors, premium gifts |
| Decorative alloy | Variable, may blur | Light display only |
Pro Tip: Always request a test mark on an inconspicuous part of the blade, like the ricasso (the unsharpened section above the guard), before committing to the full design. This one step prevents irreversible mistakes.
Preparing your artwork and positioning designs correctly
Good artwork preparation is where most DIY sword personalization attempts fall short. Engraving is permanent. There is no "undo" button once the laser fires.
Follow this process to get your design right before anything touches the blade:
- Create or convert your design into a vector format (SVG or AI). Vector files scale cleanly to any size without losing detail, which is critical for fine linework on curved blade surfaces.
- Simplify complex images. Photographs and gradients do not engrave well. Convert them to clean line art or use a professional to redraw them.
- Request a digital proof. Any reputable engraving vendor will send you a mockup showing the design positioned on the blade before work begins.
- Review the proof carefully. Check text spelling, orientation, and proportions. The artwork is redrawn and approved in digital form before engraving for exactly this reason.
- Sign off only when you are certain. Do not rush this step.
Positioning is its own discipline, especially for Japanese swords. If you are personalizing a katana or wakizashi, the placement of fittings and engravings follows strict traditional rules. Katana tosogu positioning specifies that menuki and fuchi designs face specific orientations for correct display and symbolism, not just aesthetic preference. Getting this wrong on a replica of a historical piece undermines its entire character.
For Western swords, consider where the blade will be viewed most often. A wall-mounted sword is read differently than a sword in a scabbard. Names and dates usually read cleanest along the flat of the blade near the base. Crests and logos work well in the fuller (the groove running lengthwise on many blades) where they catch light naturally.
"Think of the sword as a stage. Your design is the performer. Position it where the audience will actually look."
Pro Tip: If your sword will be displayed horizontally, test your layout by printing the design to scale and taping it to the blade. This low-tech check saves you from discovering that your beautifully centered crest actually disappears behind the wall mount bracket.
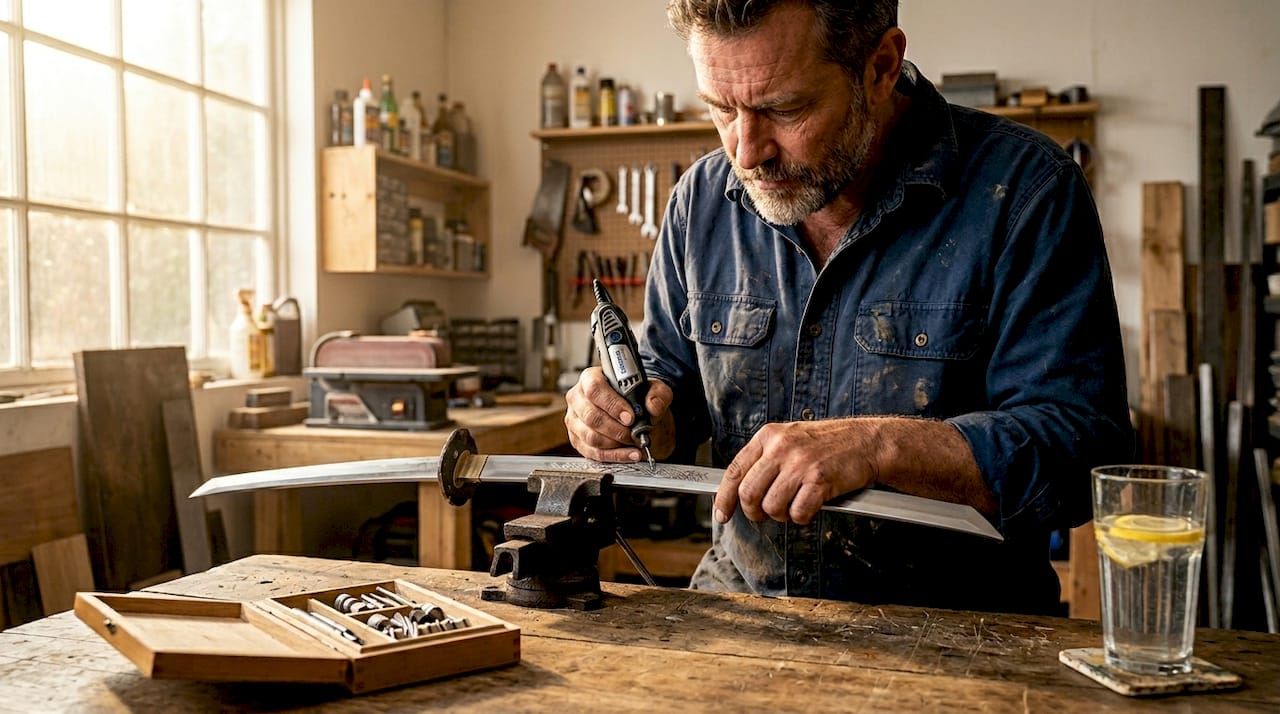
Executing the personalization process: engraving, etching, and adding custom details
With your design approved and your blade ready, execution is the most technical phase of the process. Mistakes here are permanent.
Follow these steps when working with a laser engraving setup:
- Secure the sword flat and completely still. Any movement during engraving creates distortion. Use a purpose-built sword vise or a padded clamp system that grips without scratching the blade finish.
- Calibrate the laser focus for your specific metal. Secure sword positioning and focus calibration are required before running test markings to ensure precise, permanent results.
- Run a test mark. Fire the laser on a scrap piece of the same metal, or use the ricasso area as discussed earlier. Adjust power and speed settings until the result matches your expectations.
- Execute the full engraving. Keep the area clear during the process. Do not interrupt the laser mid-run.
- Clean the engraved area with a soft cloth to remove any residue before inspection.
Beyond the blade, consider these additional personalization elements:
- Leather scabbard customization: Tooled leather with initials, symbols, or geometric patterns adds a second layer of personal identity to the piece.
- Handle wrapping: Traditional Japanese tsuka-maki (handle wrapping technique) can be redone in custom colors or materials for a character-accurate or personal look.
- Pommel stamping: The pommel (the counterweight at the base of the handle) is often overlooked but accepts engraving well and is highly visible when the sword is displayed point-up.
- Guard work: The guard, or tsuba on a katana, can be replaced with a custom piece that reflects a specific theme, crest, or artistic style.
"Balance the hilt first before modifying the blade. A sword that handles poorly will never feel right regardless of how beautiful the engraving is."
This matches the advice from experienced bladesmiths who consistently recommend finalizing the hilt for proper weight balance before any blade modifications, to avoid imbalance in custom builds.
Pro Tip: When personalizing a sword intended for cosplay use, prioritize the visual impact of details at arm's length. Close-up photographic details are less important than bold, high-contrast designs that read clearly in convention lighting or on stage.
Verifying your personalized sword and common mistakes to avoid
Once the engraving is complete, do not skip the verification step. Many collectors are so excited to see the final result that they accept a mediocre outcome. Slow down and check everything.
Here is what to inspect after personalization is complete:
- Engraving clarity: Lines should be crisp with no feathering or blurring. Hold the blade under a direct light at a low angle to catch any inconsistencies.
- Design placement: Compare the finished piece against your approved digital proof. Is everything centered, oriented correctly, and proportionally accurate?
- Spelling and text: Read every character. Transposed letters in an engraved name are genuinely painful to discover after the fact.
- Balance and handle fit: Confirm that no part of the customization process has shifted the sword's weight distribution or loosened any fittings.
- Finish consistency: Engraving can sometimes alter the appearance of nearby metal. A polished blade may show micro-scratches around the engraved area if the process was not done carefully.
Permanent engraving is irreversible, which is exactly why pre-approval and test marking exist. Skipping those steps is the single most common source of regret in DIY sword personalization projects.
After verification, maintain the sword properly. Apply a thin coat of blade oil to the engraved area every few months. Oils prevent oxidation, and engraved channels can trap moisture more readily than a flat surface. Store the sword in a climate-controlled environment, away from humidity.
Pro Tip: If you plan to give the sword as a gift, have someone else proofread the engraving text before you finalize the order. You have read the words so many times at that point that your brain autocorrects errors automatically.
For more ideas on how swords make memorable personalized gifts, the right customization approach depends heavily on who you are giving it to and what the occasion means to them.
Displaying, gifting, and using your personalized sword with style
A personalized sword deserves a presentation that matches its significance. How you display, gift, or use it shapes the entire experience.
For display:
- Use a wall-mounted sword bracket with proper weight rating. Most decorative mounts handle swords up to a certain weight, and a full-size battle sword with a Damascus blade and leather-wrapped handle is heavier than it looks.
- Position the sword at eye level where the engraving is visible from a natural standing position.
- Add a custom placard beneath the mount explaining the sword's story, origin, or the occasion it commemorates.
- Pair the sword with its leather scabbard on a dedicated stand for a complete presentation.
For gifting, follow this sequence:
- Choose the occasion intentionally. A retirement sword, wedding sword, and gaming achievement sword each call for different design language. A retiree wants gravitas; a cosplayer wants accuracy.
- Package it properly. A wooden display box, a sword bag, or a purpose-built case signals that the gift was thought through completely.
- Include the story. Write a short card explaining the personalization choices. What does the engraving mean? Why that design?
- Time the reveal. Swords are dramatic. Let the moment match the gift.
Personalized swords as gifts consistently land as some of the most memorable presents collectors and enthusiasts receive, precisely because the object has physical weight, historical resonance, and a personal touch that no mass-produced item can replicate.
For cosplay use, build a maintenance routine from day one. Wipe down the blade after every use, check all fittings monthly, and re-oil the leather scabbard seasonally. A personalized cosplay sword that also stays in excellent condition becomes a signature piece you carry for years.
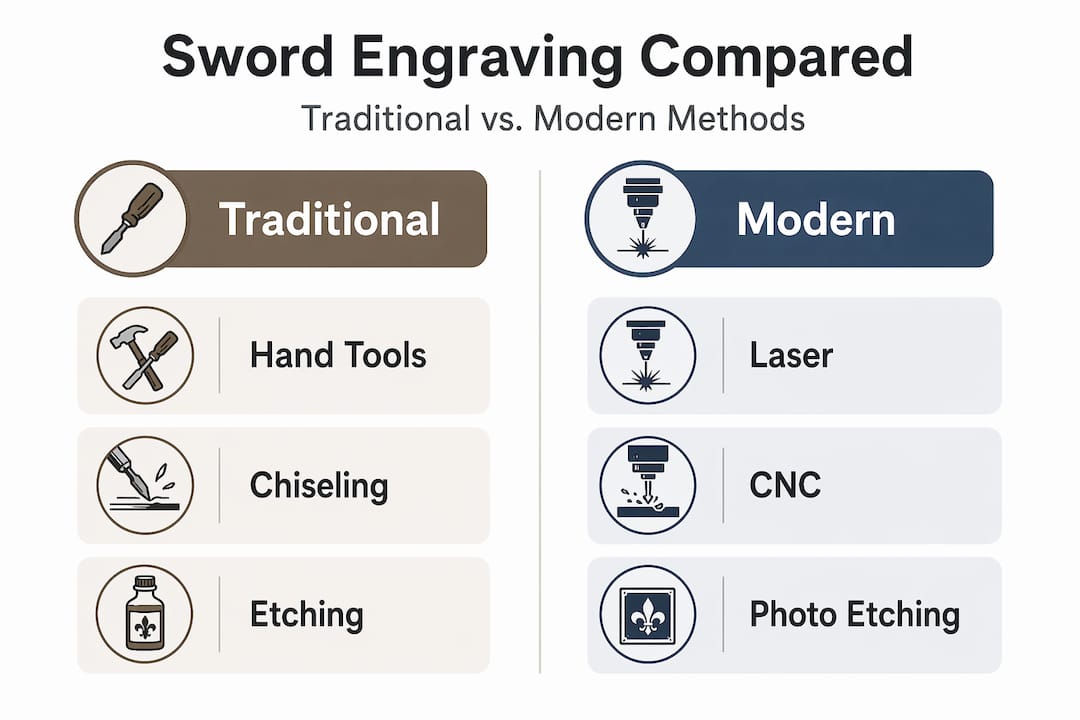
Why traditional and modern personalization approaches both matter to collectors
Here is a perspective most guides skip entirely: the collectors who end up with the most meaningful pieces are not the ones who went all-in on technology or all-in on tradition. They are the ones who understood both and used each where it belonged.
Laser engraving gives you precision that no hand engraver can reliably replicate at scale. Fine text, intricate crests, photographic-quality artwork on steel — these are modern achievements worth using. But technology without cultural context produces swords that look impressive and feel hollow.
Traditional katana tosogu positioning is not just an aesthetic preference. It reflects a worldview about how an object should interact with its owner, its environment, and the viewer. When menuki figures face the correct direction on a sheathed blade, there is a reason rooted in samurai culture and the symbolism of the warrior's relationship with the weapon. Ignoring that to center a design "your way" produces something technically personalized and culturally meaningless.
The best approach is a conversation between both worlds. Use modern customization methods to execute what tradition would have required extraordinary skill to achieve by hand. But let tradition inform where you place the design, what imagery you choose, and how the sword will be oriented in its final home.
One practically overlooked point: always finalize the hilt before you personalize the blade. This is a functional rule, not just a technical checklist item. A sword's balance point determines how it feels in the hand and how it displays on a mount. Once you have an engraving on the blade, you are psychologically committed to that sword's identity. If you then discover the handle is too light and needs rebuilding, every adjustment feels like it is working against the finished piece. Get the feel right first. Then make it yours.
Find expertly personalized swords and custom engraving services
If going the DIY route feels like too much risk for a piece that matters, the better path is working with craftspeople who have already solved every problem in this guide.
At TopSwords, you will find a curated selection of handcrafted blades built for collectors, cosplayers, and gift-givers who want something genuinely distinctive. The handmade Damascus battle sword pairs a hand-forged patterned blade with a genuine leather scabbard that is already a canvas for further personalization. For something equally striking, the Damascus steel sword with leather sheath offers a complete package ready for engraving or display. If wearable, functional carry matters to you, the handmade sword with belt scabbard is built for exactly that. Professional engraving services are available for additional customization to match any personal taste, occasion, or collection theme.
Frequently asked questions
What is the best file format for sword engraving artwork?
Vector formats like SVG and AI are best because they scale to any size without losing detail, which produces the crisp, clean lines that quality sword engraving requires.
Can I personalize any type of sword with laser engraving?
Almost any sword can be engraved as long as the artwork is set up correctly and the target area on the blade can accommodate the design dimensions. High-carbon and stainless steel tend to produce the best results.
How do traditional katana fittings influence personalization placement?
Katana tosogu like menuki and fuchi follow specific orientation rules so designs display correctly when the sword is sheathed vertically with the blade edge up and figures facing the guard, honoring both symbolism and aesthetics.
Is it necessary to finalize the hilt balance before personalizing the blade?
Yes. Finalizing the hilt first ensures the sword's weight balance is correct before blade modifications are made, preventing handling problems that are difficult to correct once personalization is complete.